While the world of landscape photography is a complex beast, here are 6 tips to improve your landscape photography that will help you get the most from your snaps.

We’ve all been there. On the trip of a lifetime, driving through one stunning landscape after the other. There’s a lookout ahead. So you pull the car over, stop and get out. You walk to the edge of the platform, bring the camera to your eyes and fire off a few frames. You get back in the car and drive off.
When you get home, you download your photos onto your computer. Excitement builds and you click on open, only to find them dull and boring. They just don’t have that ‘wow’ factor or invoke that feeling you had when you were there.

In this article, I’m not going to go all camera geek on you and start talking about weird things like the exposure triangle, RAW vs JPEG, ISO, GND’s or any other acronym. What you’ll discover are six basic tips that will turn your holiday snapshots into something that you will be proud to hang on your wall.
So without further ado, here are my 6 tips to improve your landscape photography.
Table of Contents
TIP #1 – A TRIPOD IS ESSENTIAL FOR LANDSCAPE PHOTOGRAPHY
Before we get to the good stuff, we have to start with the boring stuff. In my opinion, you will struggle to find something more boring than a tripod. But they are essential. That is why a tripod sits at #1 for my 6 tips to improve your landscape photography.

When purchasing a tripod, it is important, that you get yourself a good sturdy model. Just don’t go buying one that is so heavy that you don’t want to carry it. As with most things, buy the best you can afford, look after it and it will last you a lifetime.
My current tripod is over ten years old and has seen a lot of work. Generally, a quick wash down with fresh water is all that is needed, but every 12 to 18 months I give it a full strip-down and service.

Tripods will help your photography in so many ways. They provide a solid and stable base for your camera, which will then allow you to make longer exposures, especially at sunrise and sunset.
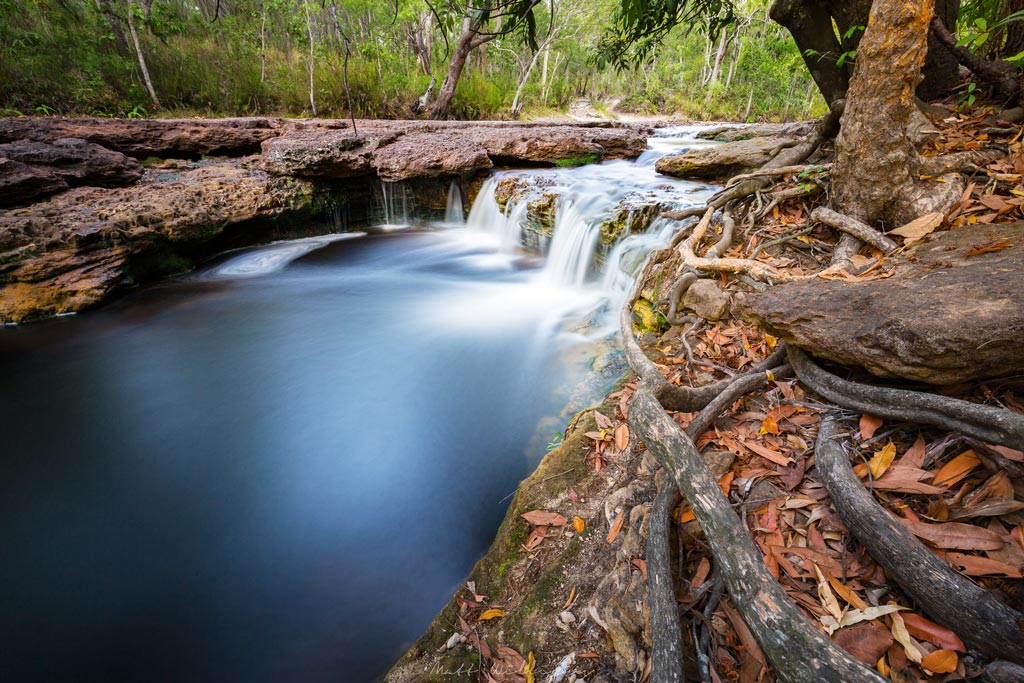
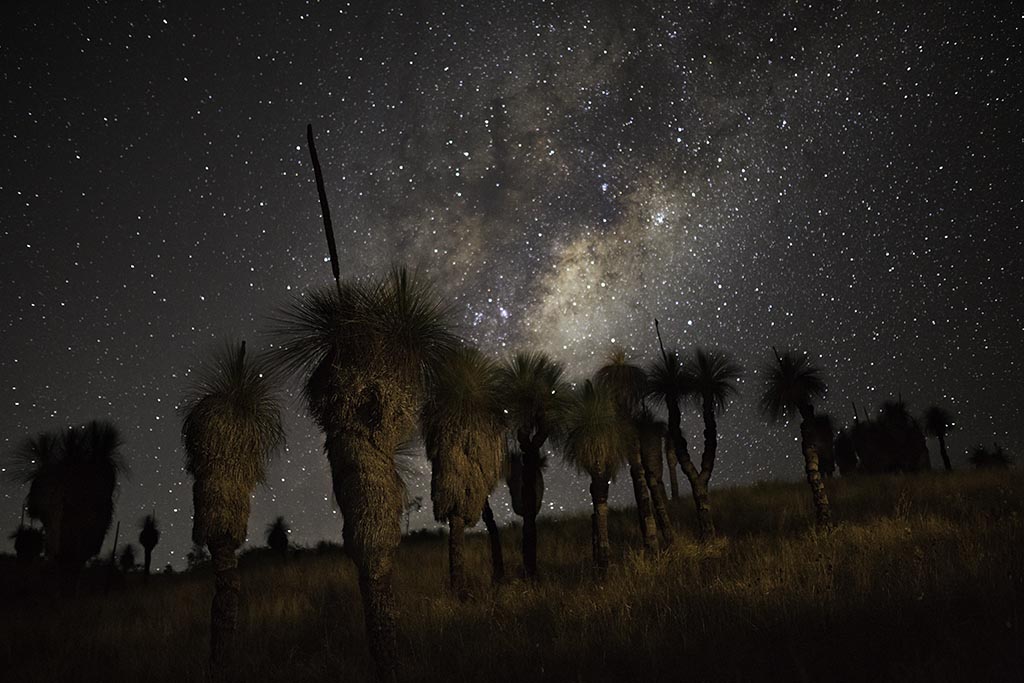
Want to take a photo of that waterfall and get that misty, ethereal look to the water? Then you’re going to need a tripod. Fancy taking a shot of the Milky Way? Yep, you’re going to need a tripod for that too.
The other great thing about a tripod is that is slows everything down. There’s no just turning up to that lookout and taking a scattergun approach, hoping that you’ve bagged a good one. Spray and pray as I like to say.
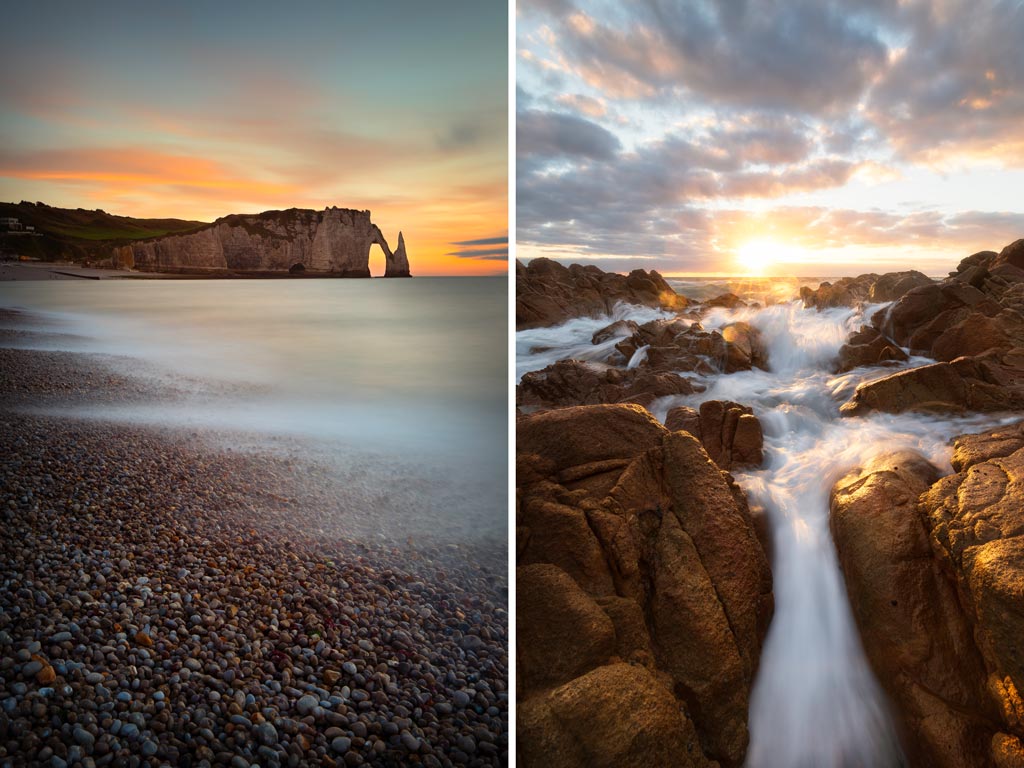
Using a tripod requires a more methodical approach to your photography, and gets you thinking just that little bit more. Which leads me into ….
TIP #2 – COMPOSITION IN LANDSCAPE PHOTOGRAPHY
Now, I did say that I wasn’t going to go all camera nerd on you, but composition is one of those things that you do need to really think about. There are some basic rules to composition that we need to learn first before we can then think about breaking them a little bit further down the track.
Techniques like ‘Leading Lines’ and ‘S Curves’ have their part to play when creating your photographic works of art. As do ‘Symmetry and Balance’, ‘Sub-framing’ and the use of negative space.
Rule of Thirds
However, the ‘Rule of Thirds’ is probably the most used compositional tool that photographers use. While it is called the ‘rule’ of thirds, I like to think of it more as a guideline.
In laymen’s terms, this means that your image is divided up into nine equal parts. There’s two evenly spaced vertical lines and two evenly spaced horizontal lines. The subject or important parts of the image lie along these lines, or at an intersection of a horizontal and vertical line.

The great thing is, the majority of digital cameras have a grid view to use when shooting and will help in being able to apply this compositional tool to your shots.
Leading Lines
Another great trick to use is leading lines. This is one of the best ways to guide the viewer through your image. And the best thing is, nature is full of them.

It may be a road, a stream or ripples in the sand. Once you start to implement them into your photography, you’ll notice them everywhere.
Oh yeah, I nearly forgot. No matter what you do, please make sure your horizon is level. Nothing makes my eye twitch more than seeing a horizon which is running downhill. Thanks again to the wonders of modern technology, digital cameras have built-in levels these days. So there really isn’t any excuse.
TIP #3 – CHASE THE LIGHT
Proudly brought to you by your alarm clock, Tip #3 is all about the time of day.
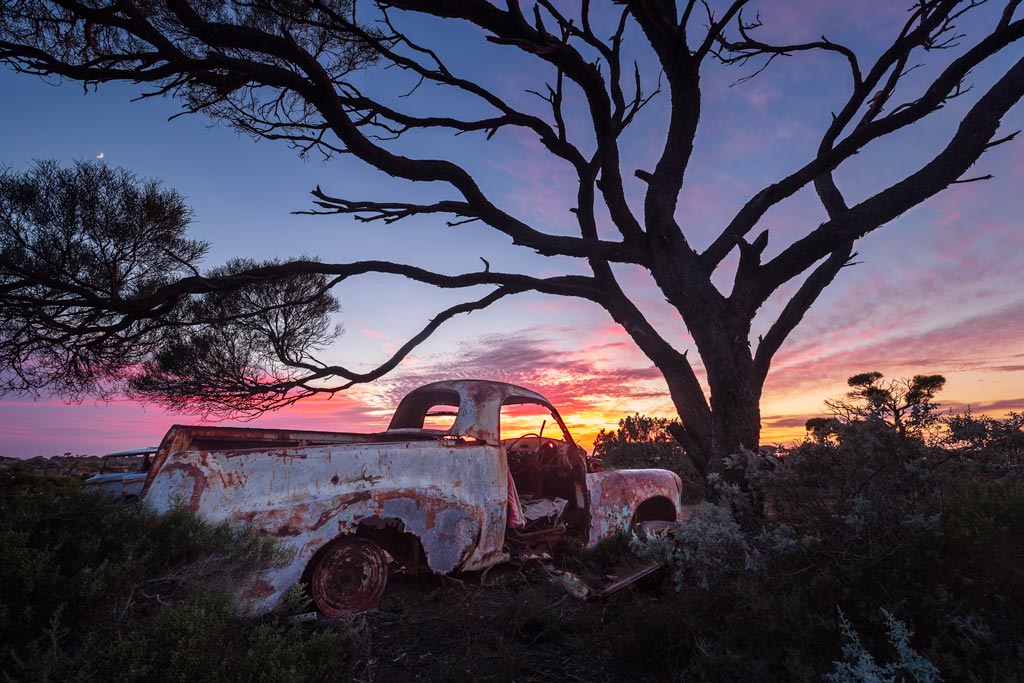


Us landscape photographers love this weird phenomenon called golden hour. It happens at both ends of the day at sunrise and sunset. So, for those of you that don’t like an early start, you’ve always got sunset to fall back on. If you don’t mind getting out of bed at stupid o’clock, then you get two bites at the photography cherry.
Generally speaking, the light at golden hour, as the name suggests, is soft and warm and paints the landscape in its best light. You also get the bonus of beautiful colours in the sky, as the clouds light up as they reflect the sun’s rays.
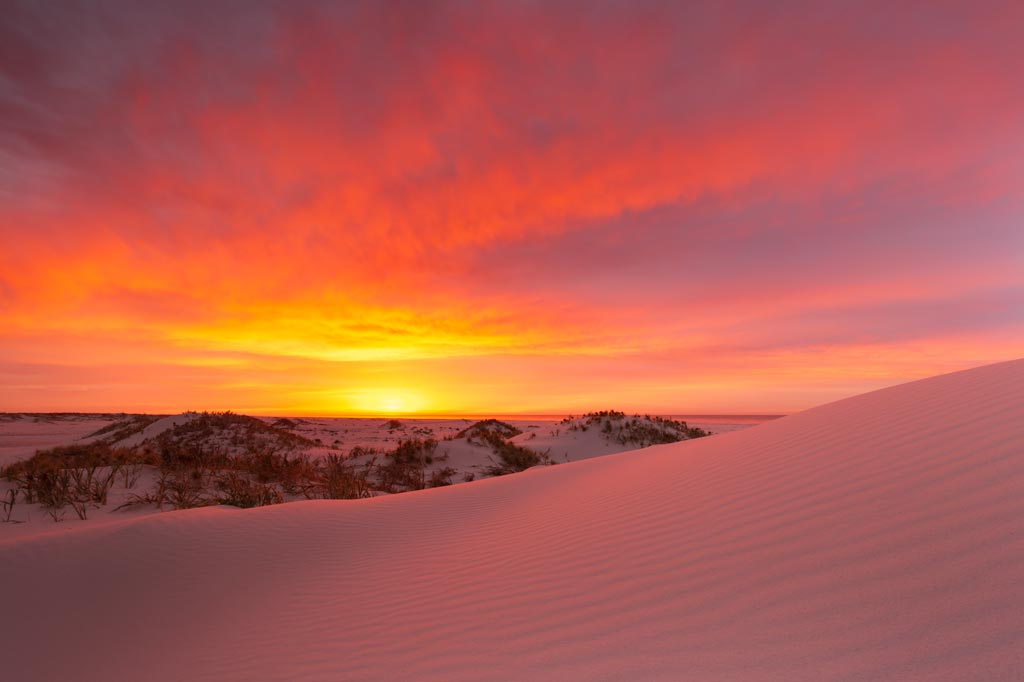
While this doesn’t mean you can’t make great photographs in the middle of the day, it just makes your task that little more difficult thanks to the harshness of the light.
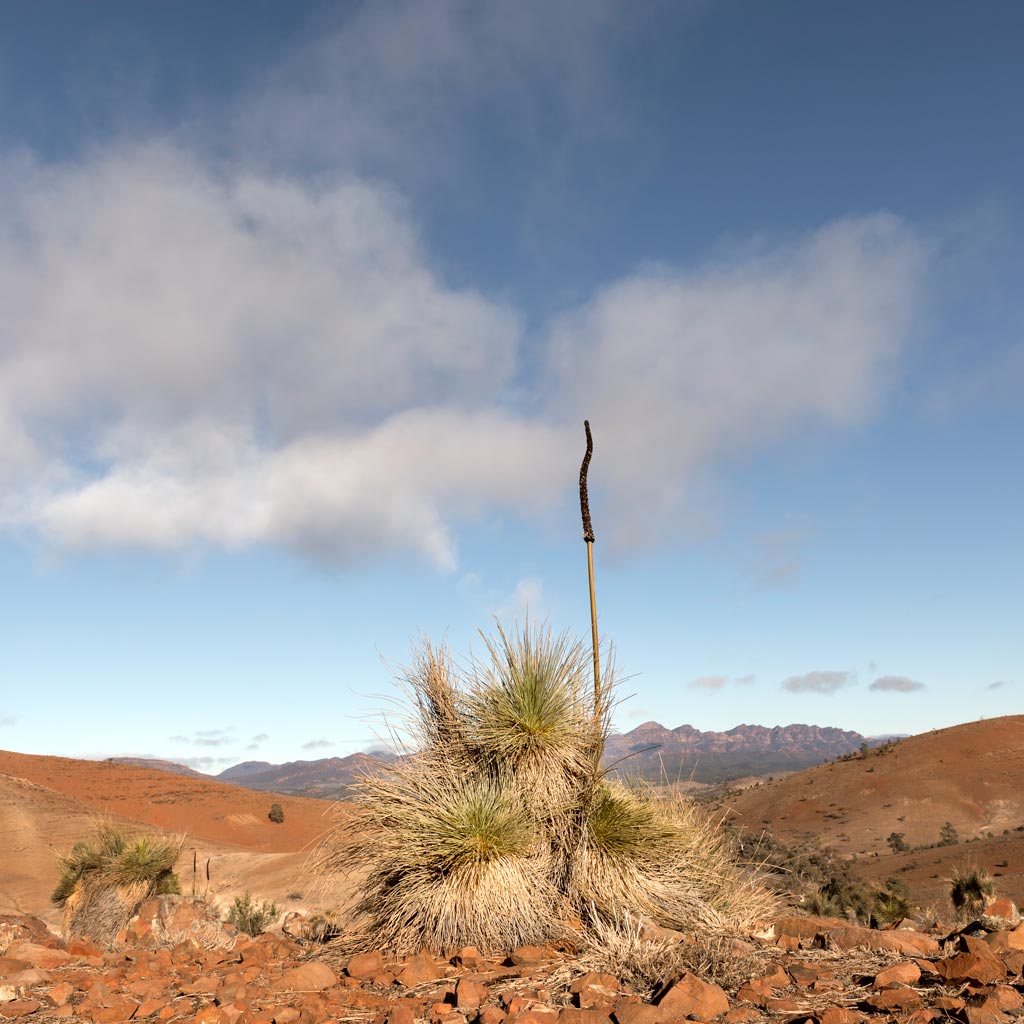


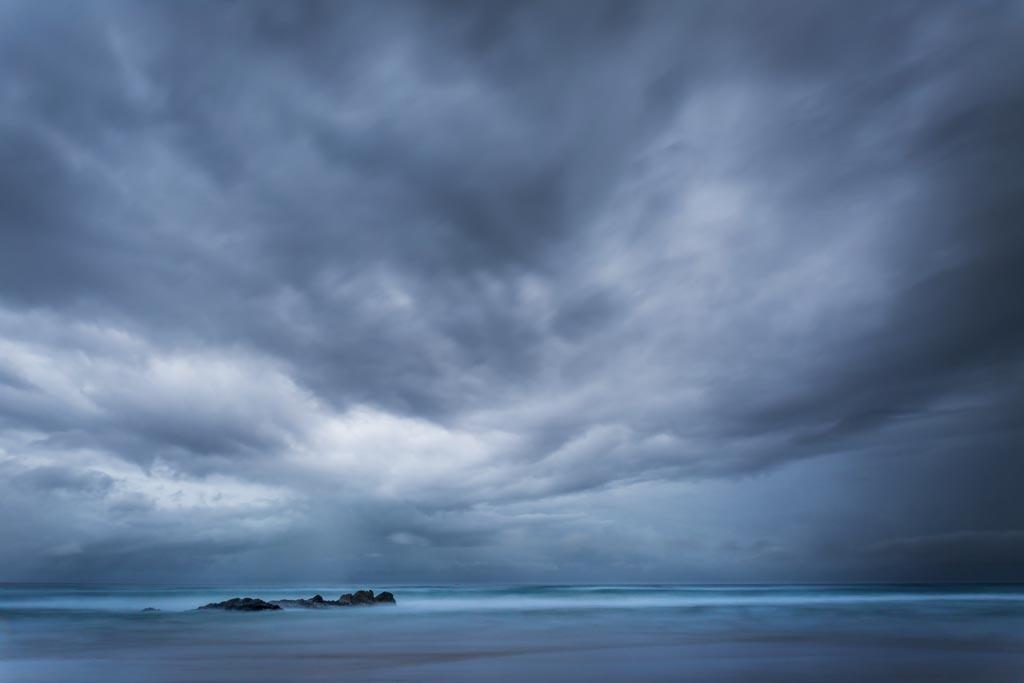
Don’t be afraid to head out in inclement weather either. Some fantastic moody images can be made under dark and foreboding skies. Just remember your raincoat!


TIP #4 – FIND YOUR SUBJECT
OK. Now on to the fun stuff. What are you actually shooting?
Before you even bring the camera to your eye or place it on the tripod, you need to survey the scene and work out what the subject is. It might be a grand vista, but if it doesn’t have a subject, it’s not going to hold the viewers’ interest for very long.
Once you’ve worked out your subject, think back to tip #3 and decide which compositional tool you’re going to pull out of your bag.
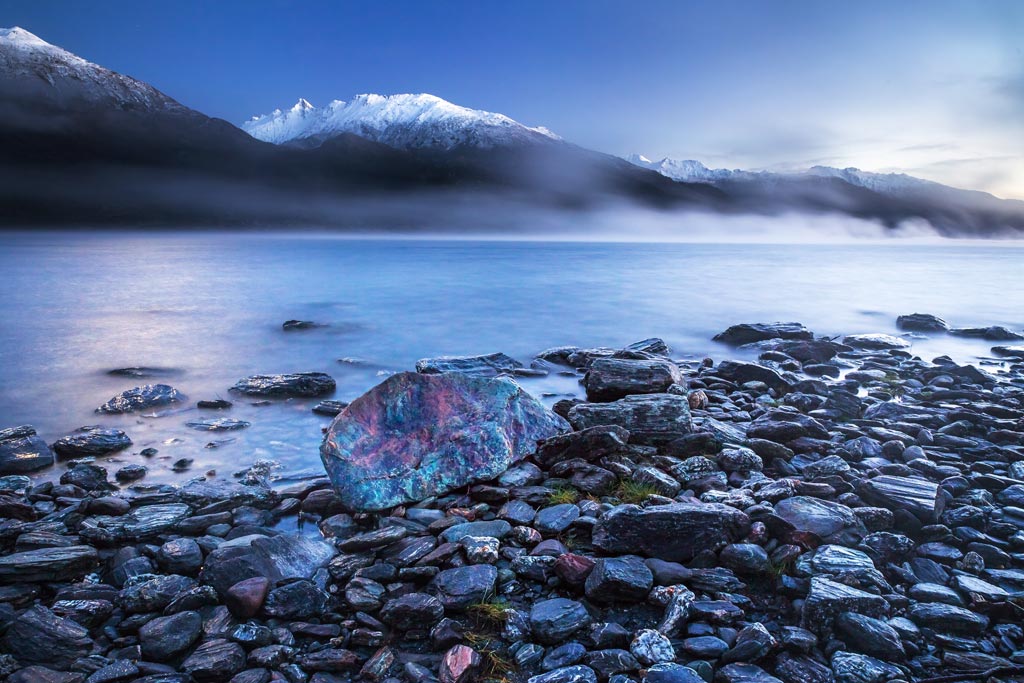
If you’re shooting an impressive mountain range in the distance, don’t forget about your foreground. By thinking about all parts of your image, and tying them together, you will dramatically increase the visual impact of the photograph.


The other big tip for new players is to make sure you pay attention to the sky. If the sky is boring, don’t let it dominate your photo. Instead, place the horizon in the upper third of your shot, and focus on your foreground elements. However, if the sky if full of drama or colour, or both, then let it play the starring role in your image.
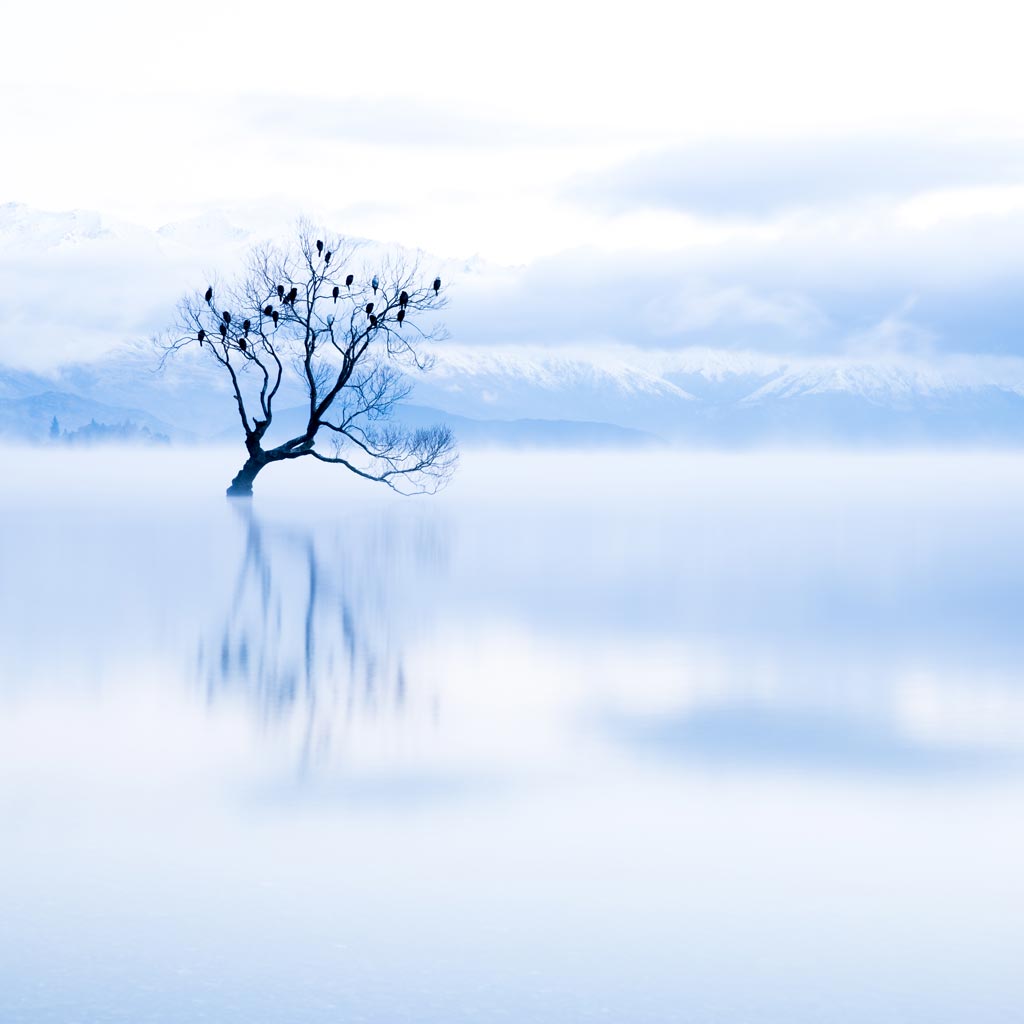
Sometimes when faced with an epic view in front of you, you might want to try and capture it all in a single shot. Sometimes it is what you leave out of a shot, that can have a greater impact on what you leave in. Think of your subject as the main actor in a movie, and everything else is the supporting cast.


TIP #5 – POINT OF VIEW
We’re nearly there everyone, but already we’ve made some huge leaps forward with our photography. We’ve only another two tips to go before we let you loose into the wild with your newfound bag of tricks.
Tip #5 is all about your POV. Sorry, I had to throw an in acronym somewhere in this article.
POV stands for Point of View, and it’s all about changing it up. Of the estimated one trillion-plus photos that were taken during the last year, I would hazard a guess that a greater percentage of them were taken from between five and six feet off the ground. Why’s that you ask? Well, because that’s around eye height.


Just like that photo you took at the lookout back at the start of this article, most people just bring their camera to their eye and snap, snap, snap away.
Take your time when you get to the lookout, that rocky headland or mountain pass. You’ve already got your tripod out, so you’re already slowing things down a bit.
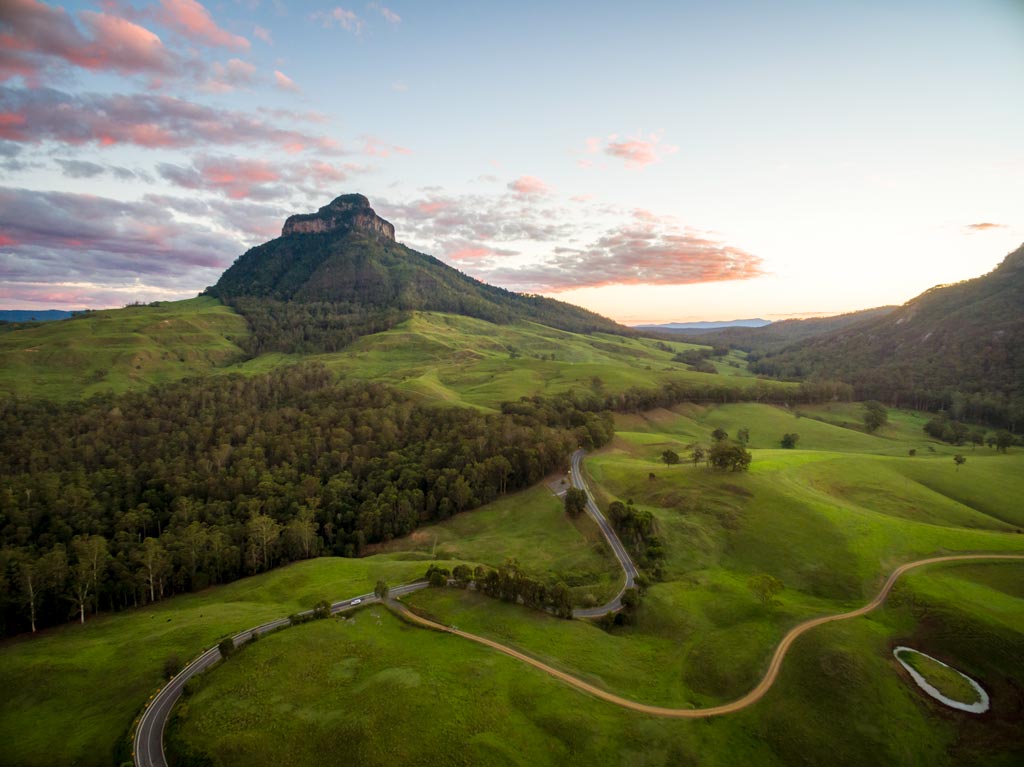
Assess the scene and decide whether a lower or higher viewpoint might make a better shot. If you can, move to your left, or to your right to find that better composition. If you want to go a lot higher, you’ll either need to invest in a drone or buy a helicopter. Bonus tip: Drones are a lot cheaper.


TIP #6 – THINK ABOUT IT
Usually, the best gets saved to last. Sorry, the best tip (in my opinion anyway) is way back at #1. So if you’re one of those people who skip to the bottom of an online article looking for the TL:DR, well, you could have just stopped after Tip #1.
Tip #6 is a bit of an oxymoron. On one hand, I’m going to tell you to be patient. To kick back and relax. Then, on the other hand, I’m going to tell you not to be lazy!
Ok, let me try to explain.
Tip #6A – Wait for the Light
Be patient. What I mean by this, is allow yourself time at your chosen location. Again, it’s all about slowing things down. Wait for the sun to peek out from behind that cloud. Wait for that shower to pass. Wait for those last rays of sunset to paint the clouds.
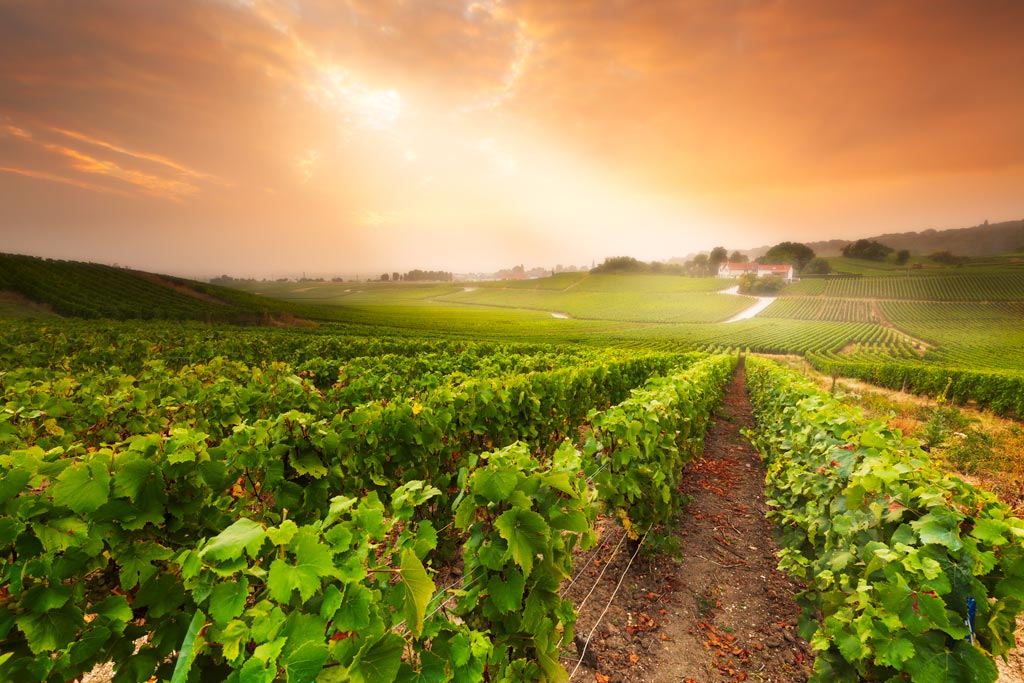


Sometimes, the difference between a so-so pic and a wall hanger can only be a couple of minutes.
Tip #6B – Take a Walk
Don’t be lazy. And I mean lazy with your photography. Don’t just take that same photo from the same spot as everyone else. Especially when you’re at a super popular tourist hotspot.
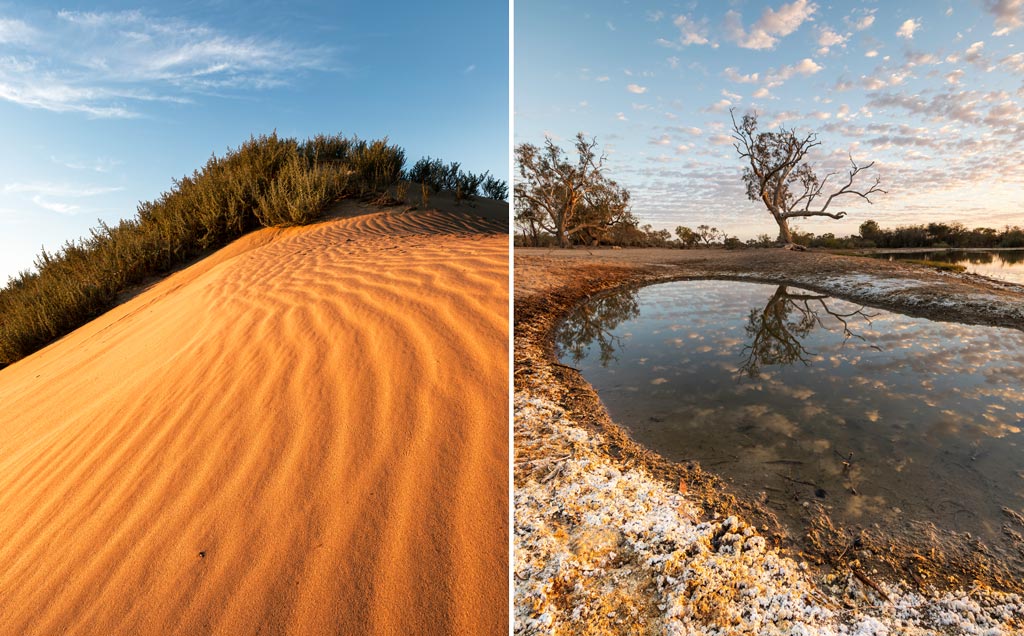
Go for a walk, take that trail or climb that hill (but safely of course) to get a shot that no one else has taken before. I can assure you, it will be worth it.


CONCLUSION
So there you have it, my 6 tips to improve your landscape photography. There is a heap more and I am definitely not saying that I know them all. Far from it. But, if you’re only just starting out, or wondering why your holiday snaps just don’t have that impact, these tips are really going to help.
Just remember too, that you can combine any of these tips to create even more powerful images. And remember, digital is cheap, so just get out there and shoot and experiment as much as you can!
MY LANDSCAPE PHOTOGRAPHY KIT
About the Author:
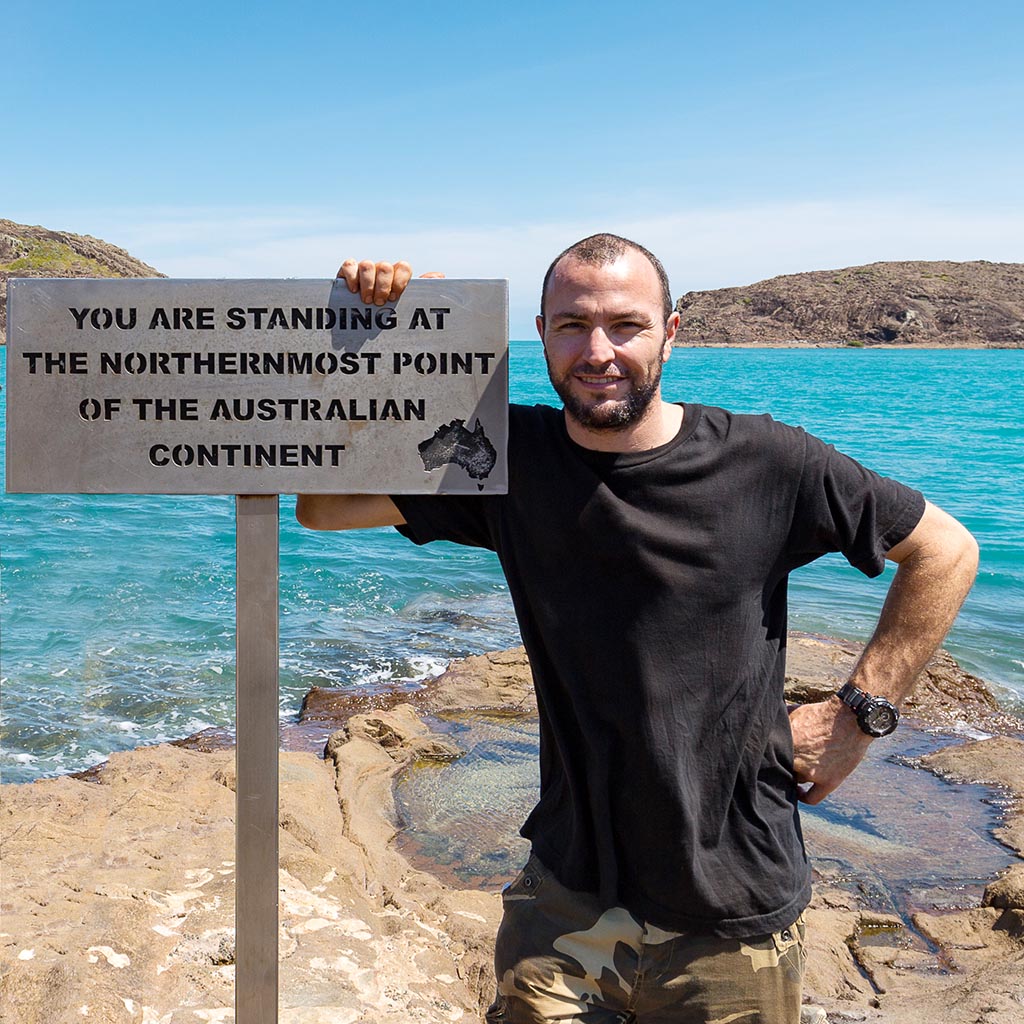
Hi, I’m Matt. I camp, four-wheel drive, explore the outdoors and get paid to take photos.
I’m happiest when I’m doing all four at once.
Occasionally, I’ll even tap out a couple of words on my keyboard.


Leave a Reply