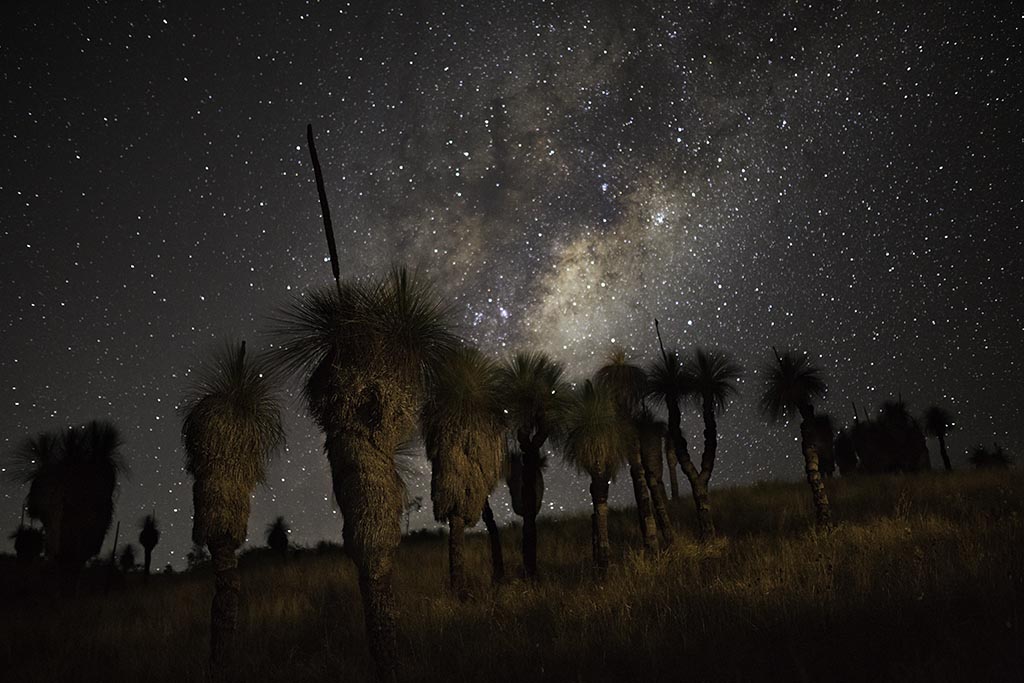
After many years of trial and error, and a lot of time and sleepless nights spent under a starry sky, I can offer you my Astrophotography for Beginners guide. I’ve been out there and done all the hard work for you.
Table of Contents
INTRODUCTION TO ASTROPHOTOGRAPHY FOR BEGINNERS
You see, when we first started touring and camping in the more remote regions of Australia, the night sky fascinated me. So, when my vocation changed to photography, there was no way that I wasn’t going to teach myself how to take photos of our celestial neighbours. We all have to start somewhere, and I was once an astrophotography beginner too!
The beauty of Astrophotography these days is that pretty much anyone with a camera can take a snap of the stars. And, with the advent of digital, it costs you nothing but time.
So read on for my “Astrophotography for Beginners” guide, and you too can be taking awesome photos of our magical night sky.
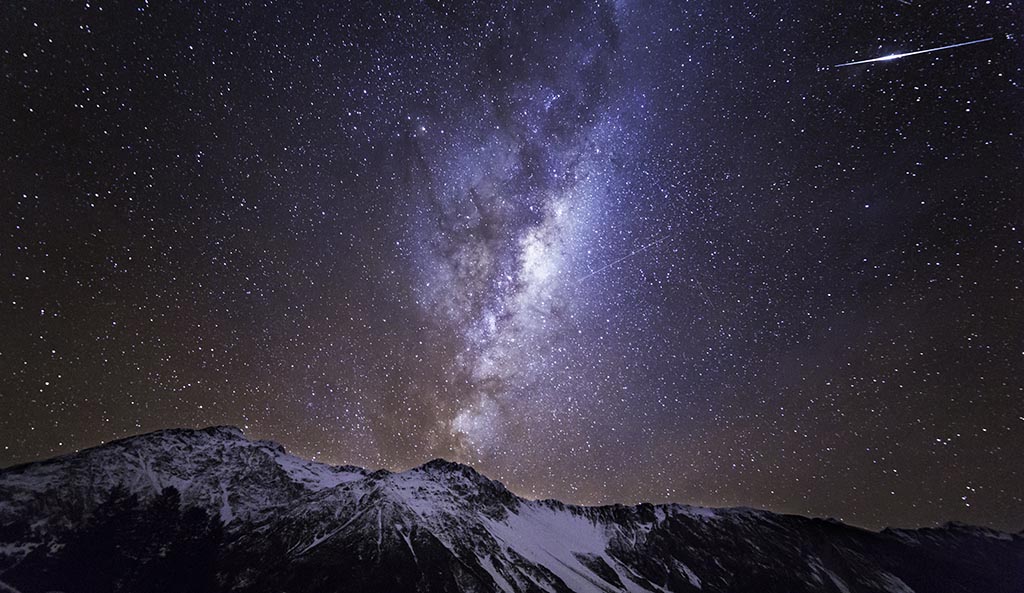


ASTROPHOTOGRAPHY EQUIPMENT FOR BEGINNERS
What’s awesome about digital photography, is that wide-field astrophotography is well within most people’s reach. Even an absolute beginner.
There are obviously a few basic pieces of equipment that you will need which we’ll address below. Most people who travel around Australia will already have a couple of these items in their kit bag.
THE CAMERA
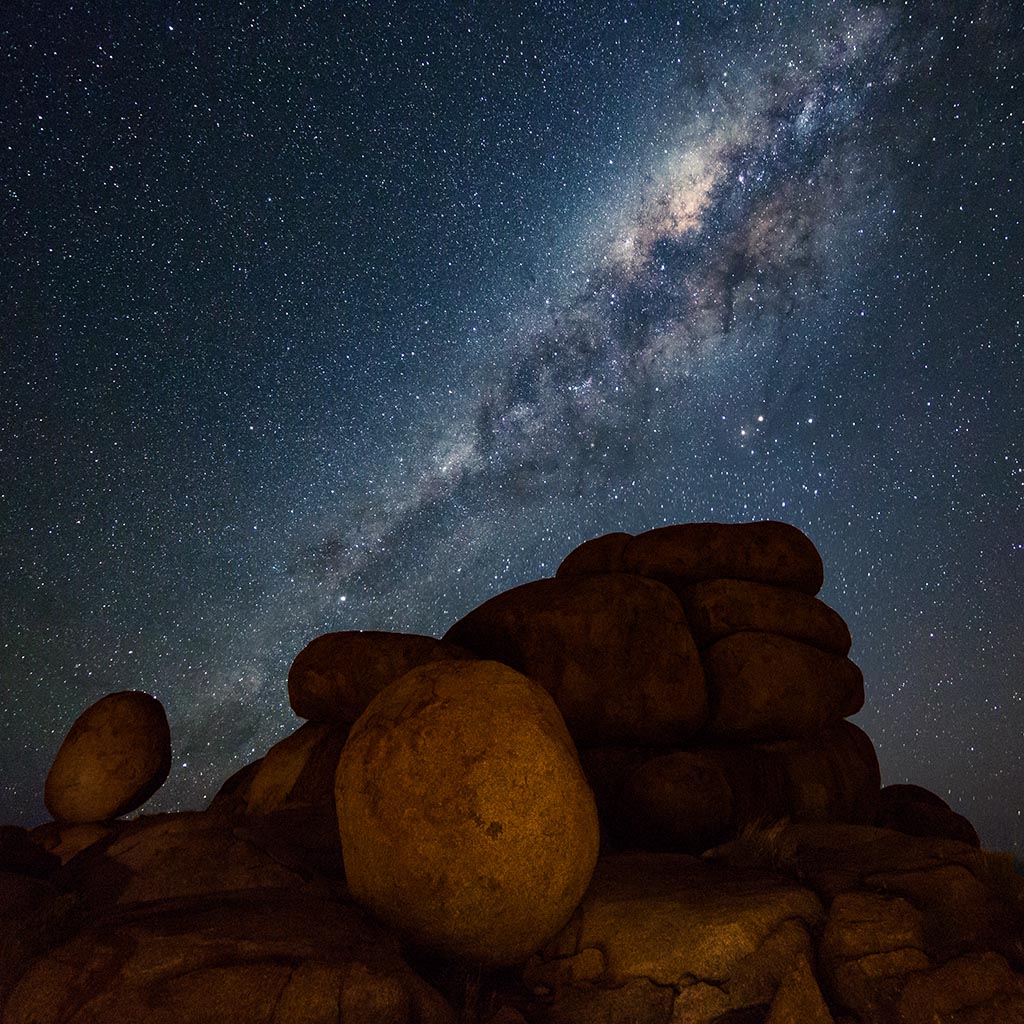
Most DSLR or Mirrorless Cameras are more than capable of photographing the starry skies above. However, those that have a full-frame sensor and excellent low light capabilities will yield better results. I personally use a Canon 5D Mark IV for all of my photography.
For those that don’t have a full-frame camera, you can still get very good results with crop sensor cameras like the Canon 7D Mark II or Nikon D7100.
A lot of the mirrorless cameras these days are also excellent at astrophotography such as the range from Sony.
At the end of the day, if you are just a beginner and starting out, the majority of cameras will yield a satisfactory result.
Unfortunately, photography is one of those ‘hobbies’ where you do get what you pay for.


LENSES
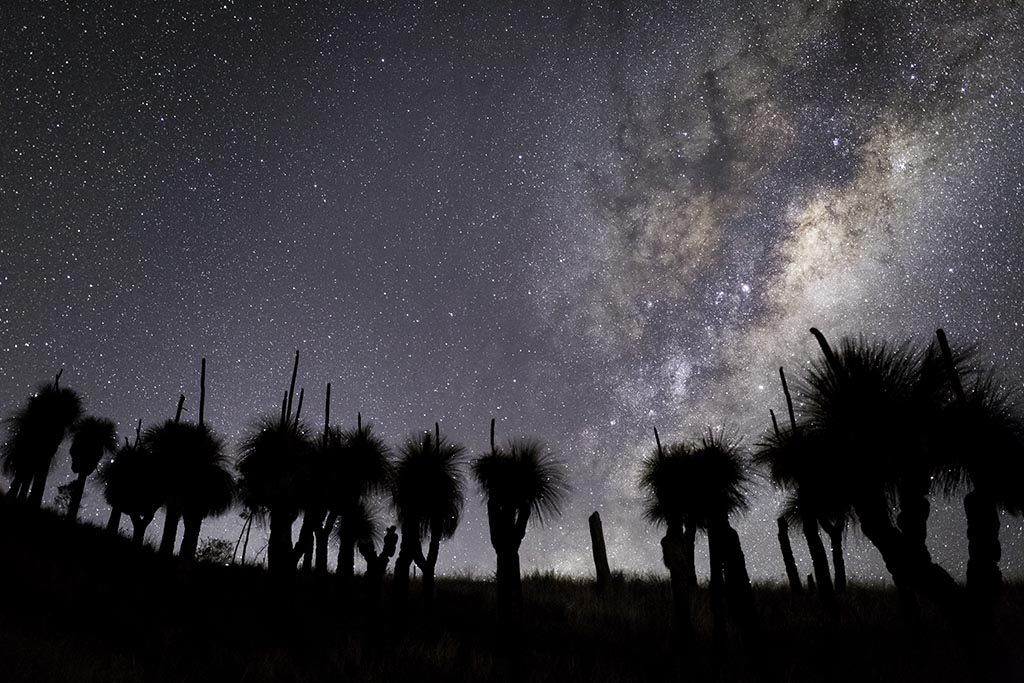
The Milky Way is massive, so a lens with a wide field of view will allow you to capture it in all its glory. Something in the 14mm to 16mm focal range is ideal. The wider field of view will also allow us to use longer shutter speeds to gather more light.
While the standard kit lens will get you adequate results, upgrading to a faster lens with an aperture of f2.8 or faster will improve your results remarkably. My goto lens is the Samyang 14mm f2.8


TRIPOD
Some may argue that a tripod is the most important piece of equipment in your astrophotography arsenal. I probably wouldn’t disagree. A sturdy tripod is essential due to the long exposure times associated with astrophotography. You need a solid platform, as most exposures will be in the 15 to 30 second range.
Don’t skimp on quality here, as a good tripod will serve you well and last a very long time. Just make sure it’s not too heavy that you don’t want to carry it! I’ve used a carbon fibre model from Manfrotto for longer than I care to remember.
HEADTORCH
It’s dark out there, so you’re going to need a torch. Better still, get a head torch! That way you will have both hands to work your camera and controls. LED Lenser and Petzl make a range of quality units. Get one with a rechargeable battery and a ‘red’ night mode so it doesn’t affect your night vision.


INTERVALOMETER
An intervalometer is just a fancy name for a remote control for your camera. It will allow you to trigger your camera without needing to touch it. This is particularly important to prevent vibration in the camera. An intervalometer will also allow you to make timelapse sequences and star trails.
Most cameras come with a built-in intervalometer these days, so it may pay to check before spending unnecessary money. Smartphone apps are now also available to control your camera too.


PLANNING YOUR ASTROPHOTOGRAPHY
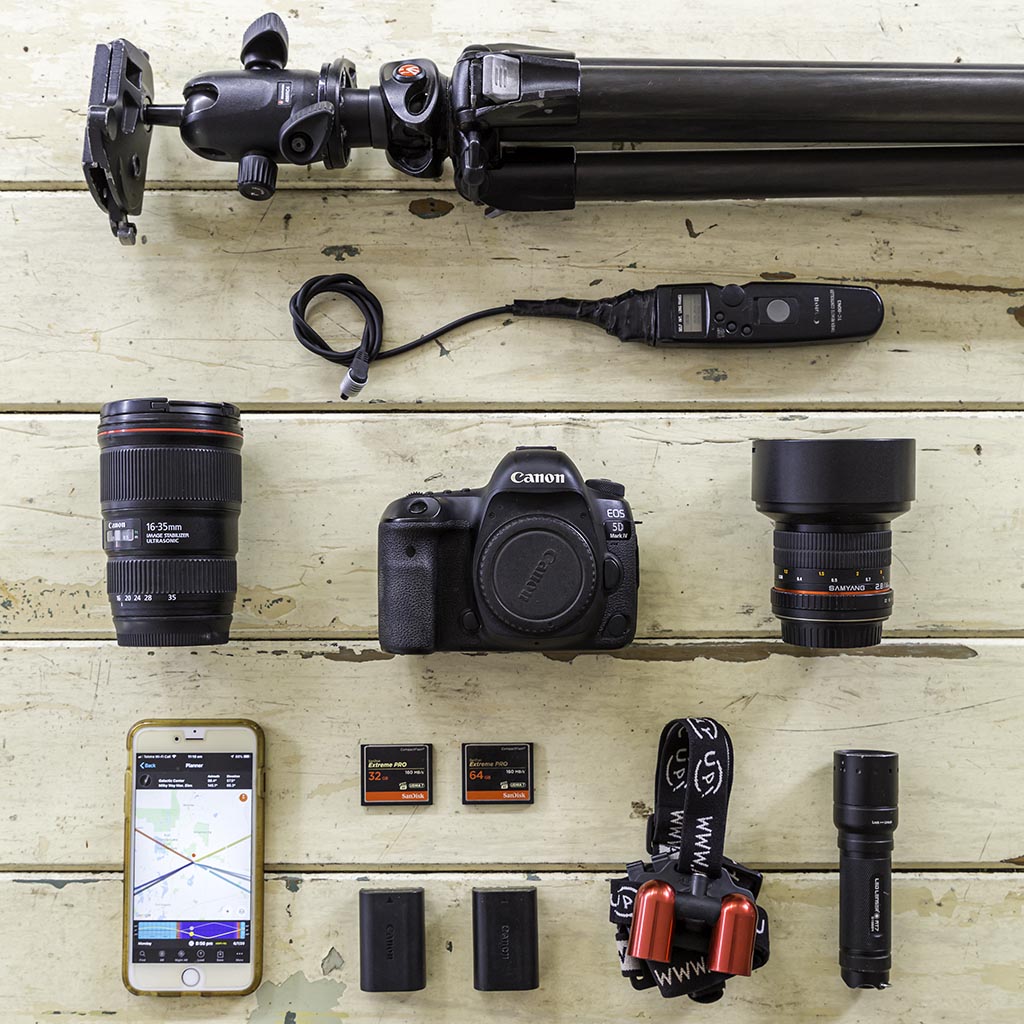
When it comes to photographing the stars at night, planning is one of the most vital factors which will lead to a successful image being captured. If you haven’t been to a location before, try to visit it in the daytime first, as this saves a lot of time stumbling around in the dark.
USING YOUR SMARTPHONE
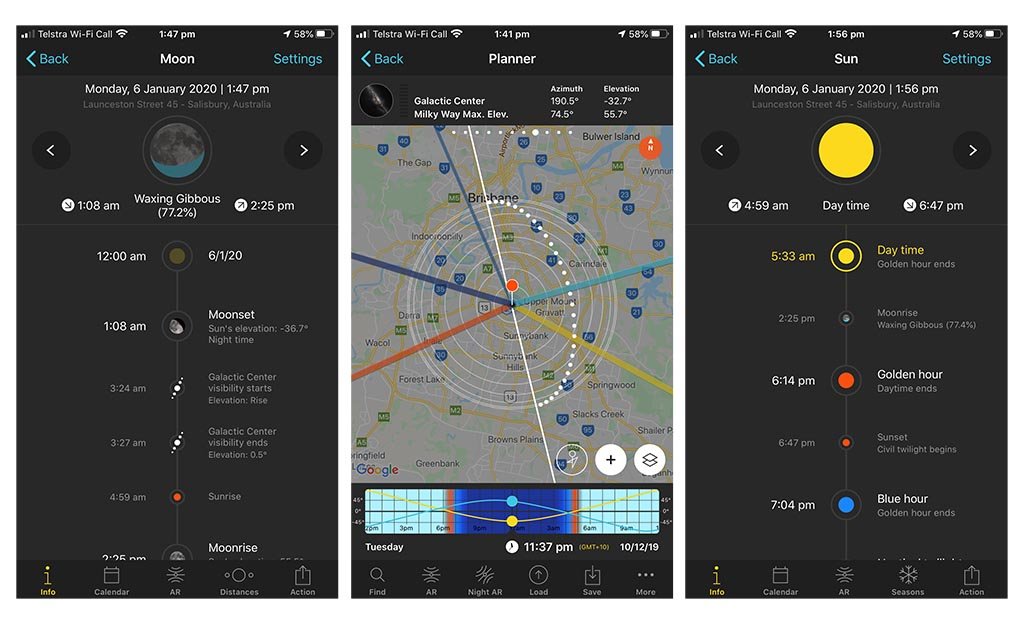
Knowing where the stars will be, at any given time, will also help you when planning your composition. This is where your trusty smartphone comes in handy. Apps like PhotoPills and TPE (The Photographer’s Ephemeris) are two of the best on the market, and not only provide you with sunrise/sunset times but also moon phase and the position of the Milky Way.


Finding that dark sky location also requires a fair bit of planning and research. I use the good old Google Maps and Google Earth for this. Unless you are lucky enough to live in a location with super dark night skies, you will probably need to take a drive out somewhere relatively remote in order to photograph the Milky Way.
This is a great opportunity to explore new places, so make the most of it and take your swag and camp out! Well, that’s what we do anyway!


BEST TIME TO SHOOT THE STARS
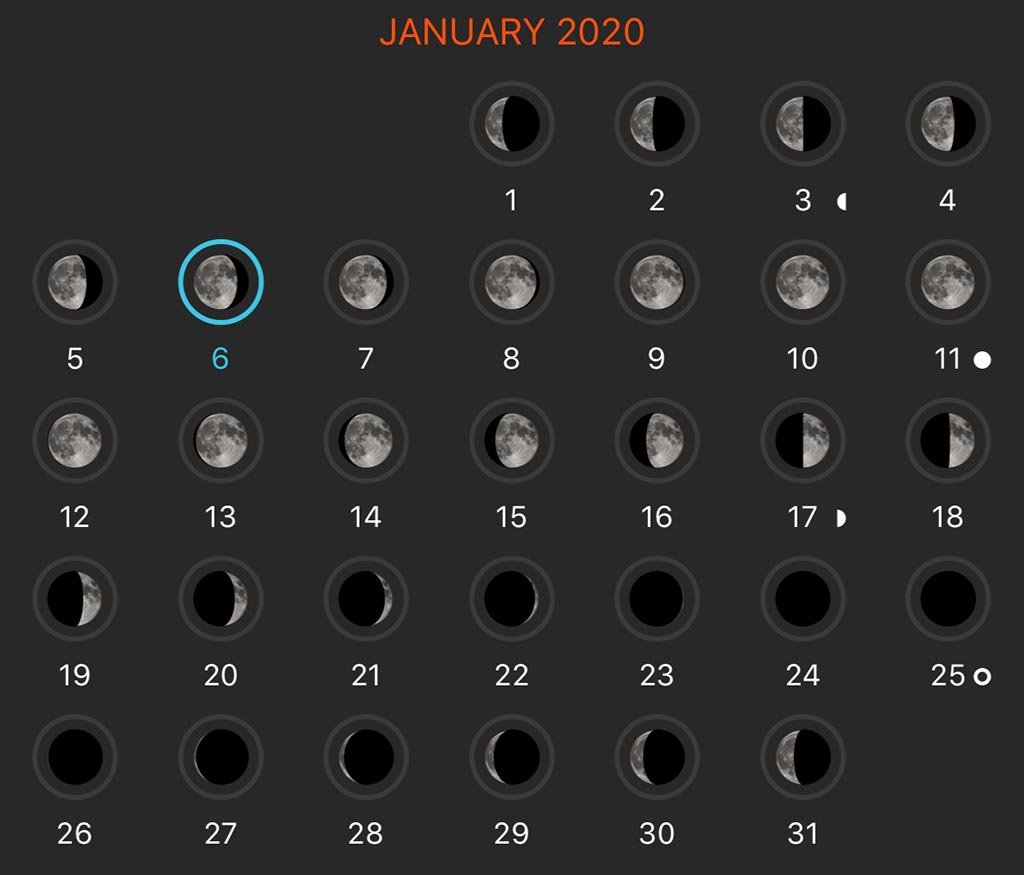
Once you find your location, plan on venturing there sometime between the last quarter and first quarter of the moon, ideally during the new moon. This is not a hard and fast rule, but the closer you are to the new moon, the more time you will have dark skies.


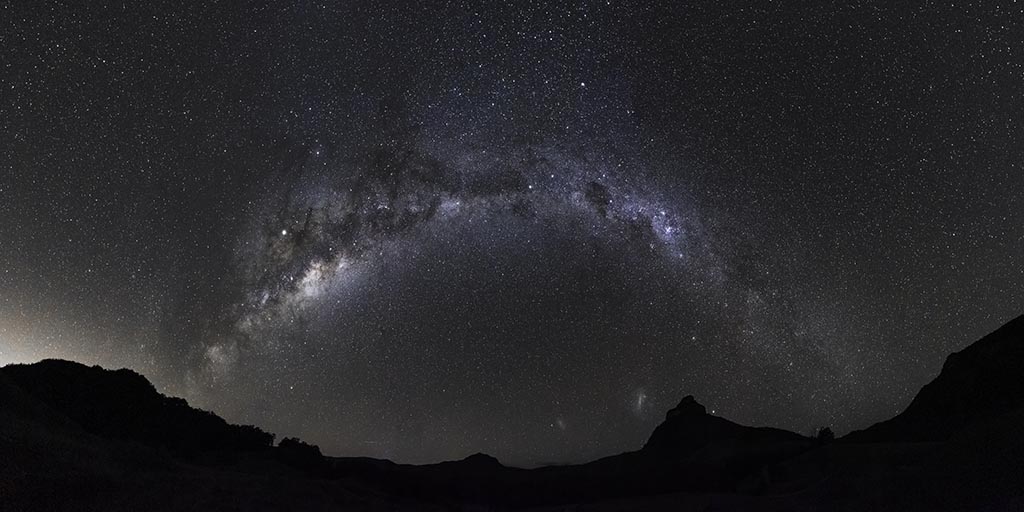
Another point to consider is the time of the year. The Milky Way (or the best part of it) isn’t always visible. In the Southern Hemisphere, the best times to view the core of the Milky Way is from March through to October.
Stargazing is also better in the cooler months, as the air is cleaner due to the lack of humidity.
THE BEST CAMERA SETTINGS FOR ASTROPHOTOGRAPHY
GET IT IN MANUAL
The big thing with astrophotography is being able to control everything, so put everything in MANUAL. Manual Exposure. Manual focus. Manual ISO. Manual White Balance. Anything that can be in manual, put it in manual. Oh yeah, make sure you are shooting in RAW too! Raw image files contain more data than JPG files and therefore allow for greater flexibility in post-processing.


FOCUS
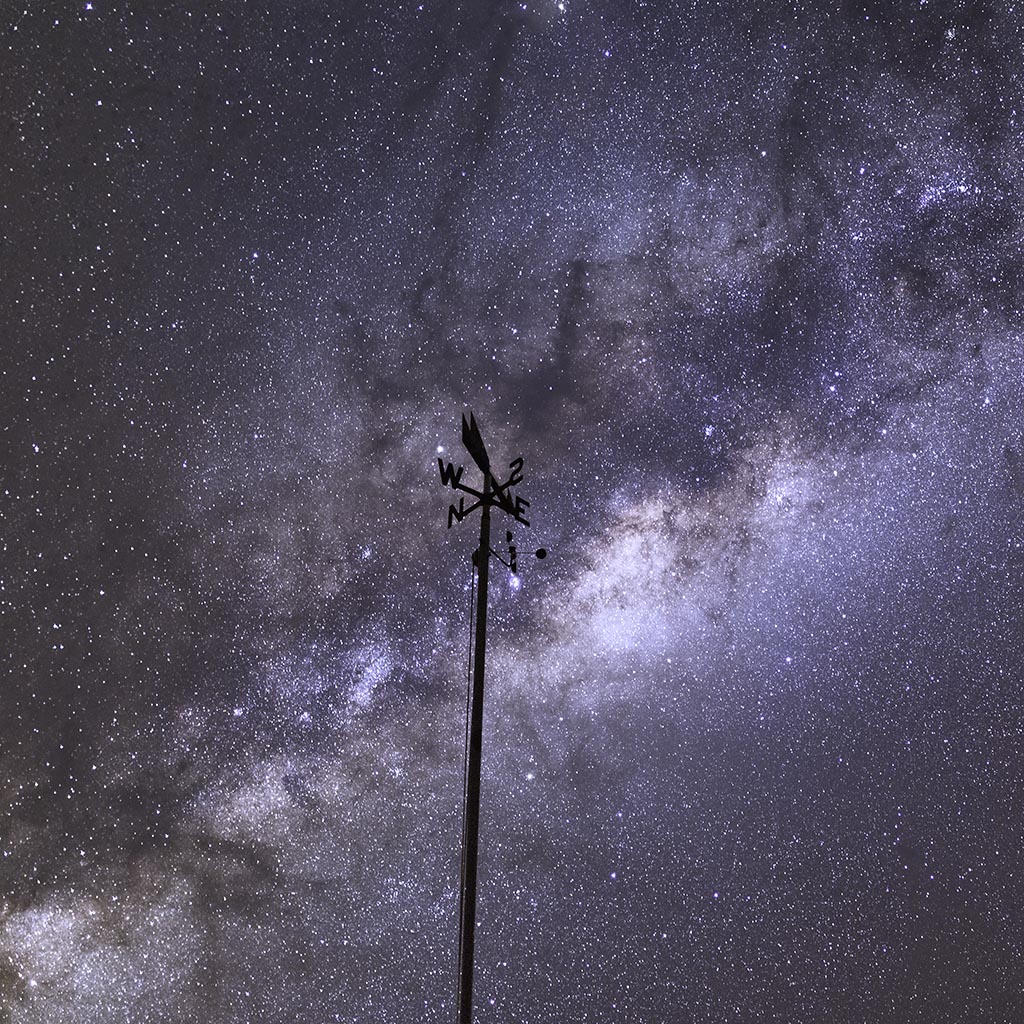
Finding focus is critical in any form of photography. In astrophotography, autofocus is redundant due to the lack of light. This is why we must use manual focus. If your camera has it, switch to ‘Live View’, then zoom in on a bright star and focus manually until it is a sharp point of light. If you can’t focus on a star, setting up a torch at least 100 metres away and focussing on that will do the trick.
Before settling on your final composition, always take a test shot of the stars to check focus. Zoom the LCD all the way into the image review to make sure that the stars look like pinpoints. If they are out of focus, re-focus and check again. Once happy with the focus, use some gaffer tape over the focus ring to avoid any accidental bumps.


SHUTTER SPEED
Long shutter speeds allow you to collect more light over time. The longer your shutter speed, the brighter the stars and Milky Way will be. However, this creates another problem. If you leave the shutter open for too long, you will create star trails due to the earth’s rotation. This is not desirable for a Milky Way shot. Your shutter speed will vary depending on what focal length lens you use. The longer the focal length, the shorter the exposure, and vice versa.
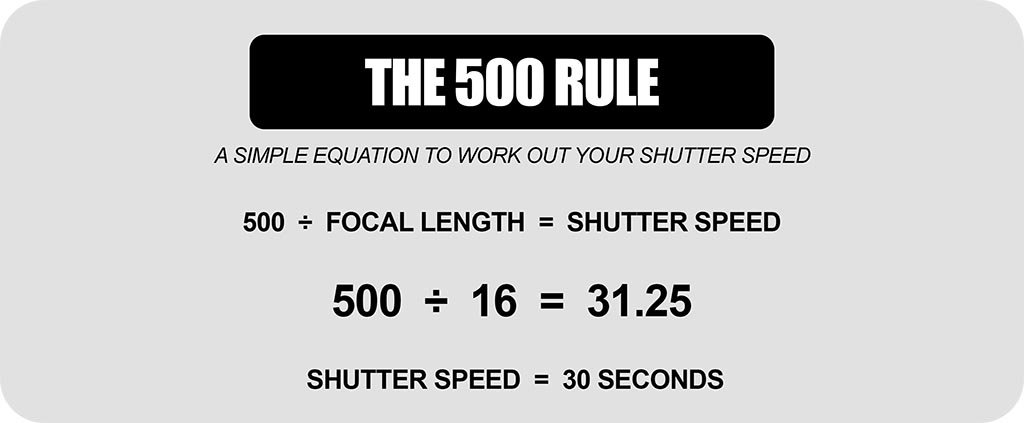
To avoid star trails, follow the 500 Rule. Basically, to get your shutter speed, you divide 500 by your focal length. For example, if you are using a 16mm lens, you divide 500 by 16 to give you your maximum shutter speed without the stars trailing. 500/16 = 31.25 seconds. You would round this number down to a shutter speed of 30 seconds. You never round up!


APERTURE
As mentioned earlier, a lens with a large aperture (f2.8 or larger) is highly beneficial to astrophotography. In astrophotography, we need as much light to pass through the lens and hit the sensor as possible, so we generally shoot wide open. Set your aperture to the smallest number possible. This will change depending on which lens you’re using.
ISO
When digital cameras first hit the shelves, using a high ISO setting proved detrimental to image quality. That is generally no the case these days due to the advancement in sensor technology. High ISO’s are the key to capturing a bright Milky Way. Don’t be afraid to push the limits of your camera, as this is vital to capture enough light to create a great image. Start with ISO 3200 and go up or down from there to get the correct exposure.
Try to push your camera to the limits of its light gathering capability without compromising quality. Check and re-check your image review, zoom in on the LCD to check focus, review the histogram for exposure information and re-compose your frame often. Once you find an exposure you like, you can usually maintain the same exposure throughout the night.


MY BASIC SETTINGS
ISO 3200, 25 seconds, f/2.8. This is what I call my ‘go to’ settings for my 14mm lens. This gets me a good base exposure 90% of the time and is a good starting point. From there, I adjust my ISO and shutter speed for optimum exposure. Obviously, the exposure time will depend on your focal length. Remember the 500 Rule!
COMPOSITION
Taking a photo of the night sky is one thing. Being able to tie it to the surrounding landscape in an appealing way is a must if you want your shots to rise above the others. If you do, family, friends and fans will be smashing that ‘like’ button of Insta and Facebook!
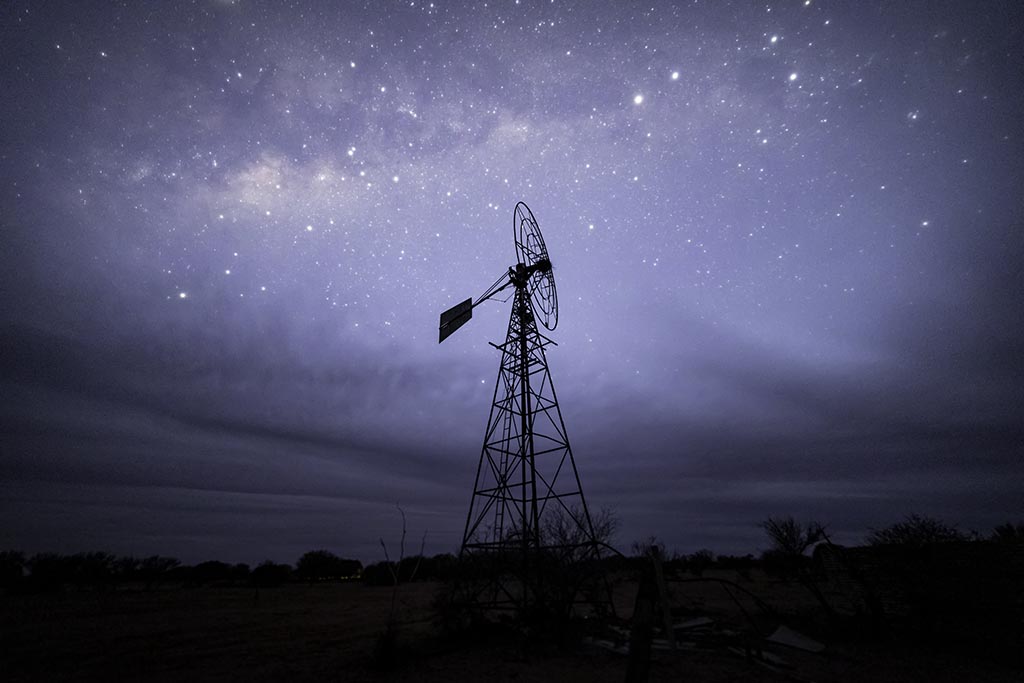


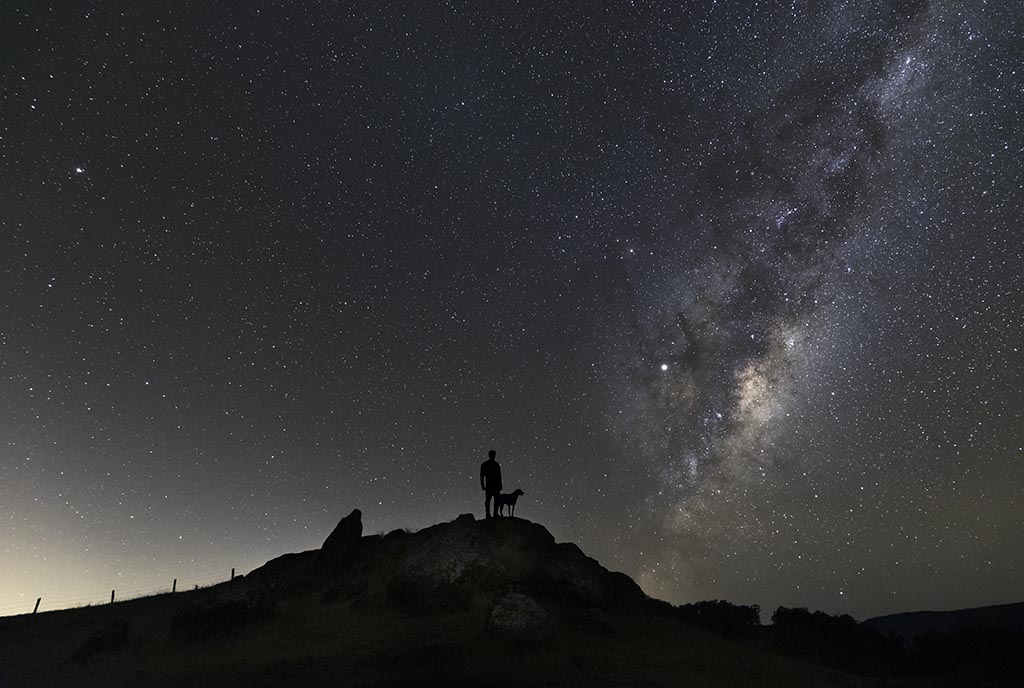
There are quite a few compositional rules in photography, like the ‘Rule of Thirds’, but I find one stands out above all others in astrophotography. Your image must have a ‘point of interest’. An image without one will not hold your viewers’ attention for long.
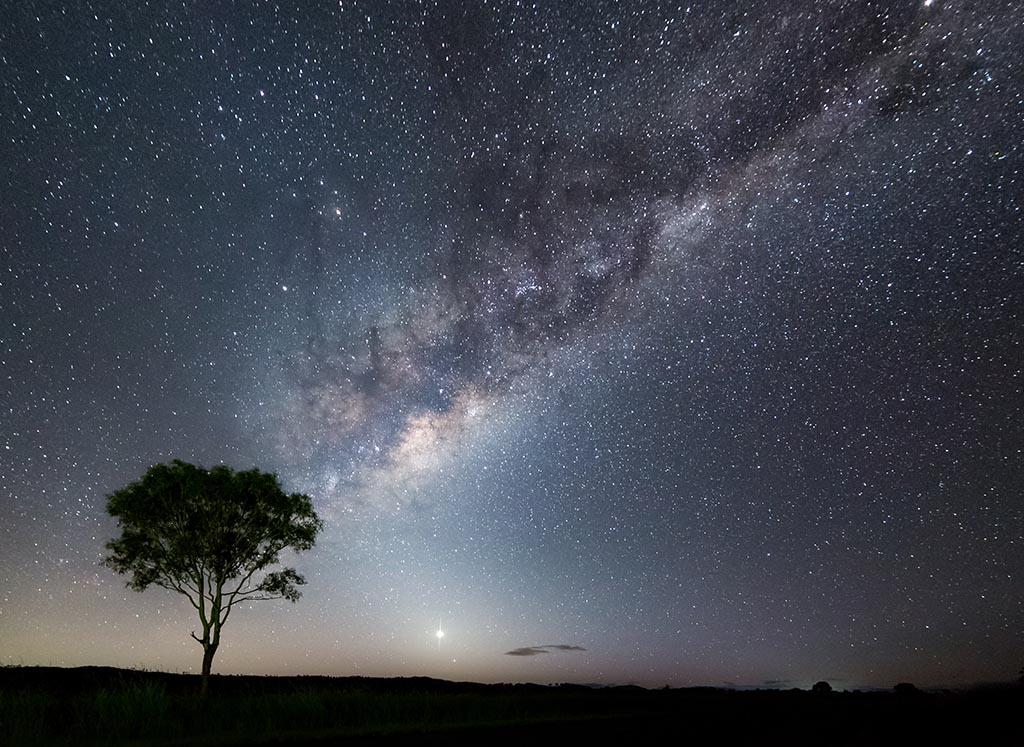
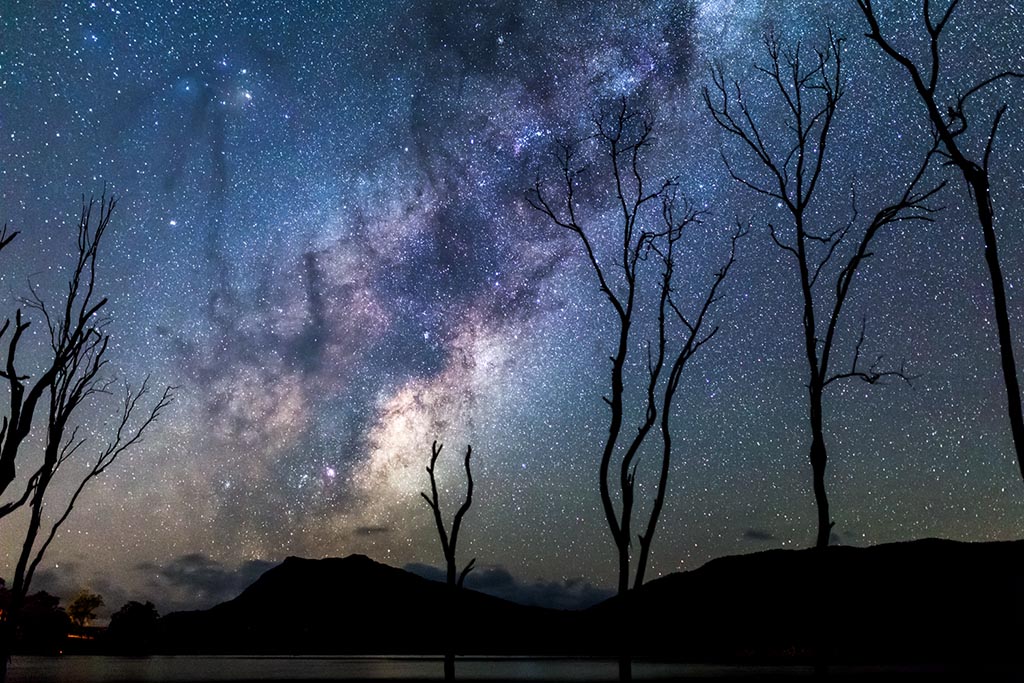
It could be something as simple as a tree silhouetted against the starry night sky, or you and a group of friends sitting around the campfire. Oops, I nearly forgot – if you have the horizon in your shot, make sure it’s straight!


THE FINAL WORD
Last of all: Plan that trip, get out there and shoot, shoot, shoot!
With enough practice, you’ll no longer be a beginner.
Good Luck!
About the Author:
Hi, I’m Matt. I camp, four-wheel drive, explore the outdoors and get paid to take photos.
I’m happiest when I’m doing all four at once.
Occasionally, I’ll even tap out a couple of words on my keyboard.


Leave a Reply